Sewing a jacket can seem like a daunting task, but with the right guidance and tools, it’s a rewarding project that can elevate your sewing skills. Whether you’re looking to create a stylish new piece for your wardrobe or repair an old favorite, this guide will walk you through every step of the process. From selecting materials to final touches, here’s how to sew a jacket with confidence and precision.
Choosing the Right Fabric and Tools
Before you begin sewing, selecting the appropriate fabric and tools is crucial. How to sew a jacket? The right materials and equipment can make the difference between a successful project and a frustrating experience.
Selecting Fabric for Your Jacket
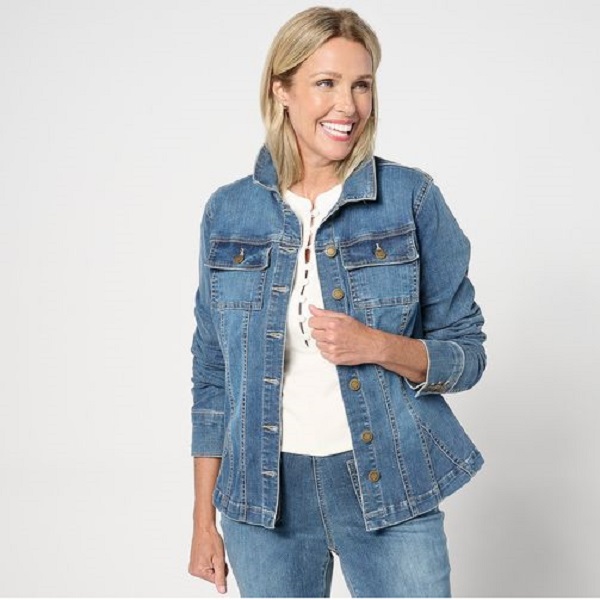
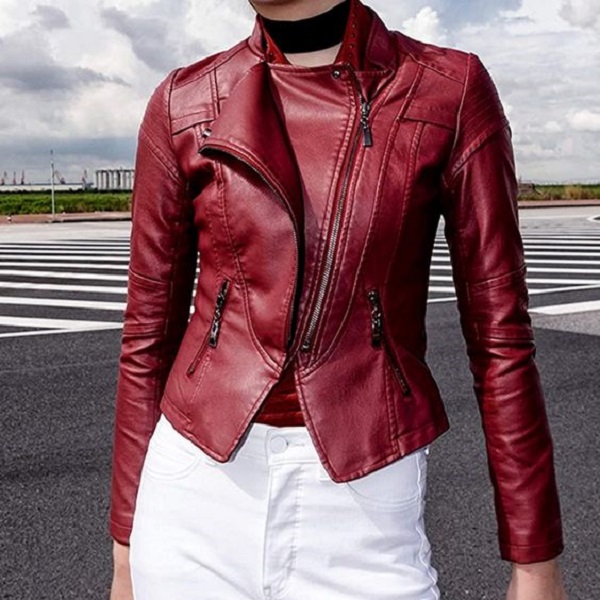
Choosing the right fabric is essential for the jacket’s durability, comfort, and appearance. Common fabrics for jackets include denim, wool, leather, and synthetic blends. Consider the following when choosing your fabric:
- Purpose and Season: Choose a fabric that matches the jacket’s intended use. For a winter coat, wool or fleece is ideal. For a summer jacket, lightweight cotton or linen might be better.
- Texture and Weight: Heavier fabrics like denim are great for structured jackets, while lighter fabrics like cotton are suited for casual styles.
- Color and Pattern: Select a color and pattern that fits your personal style or the purpose of the jacket. Solid colors are versatile, while patterns can add a unique touch.
Essential Tools for Sewing a Jacket
Having the right tools on hand can simplify the sewing process. Here’s a list of essentials:
- Sewing Machine: Ensure your machine is equipped to handle thick fabrics, especially if you’re working with denim or leather.
- Needles and Thread: Use heavy-duty needles and thread that match the fabric’s weight.
- Measuring Tape: Accurate measurements are crucial for fitting.
- Pins and Fabric Markers: These will help in marking and securing the fabric pieces.
- Iron and Pressing Cloth: Pressing is key to achieving professional-looking results.
Preparing Your Pattern and Fabric
Proper preparation is key to a smooth sewing process. How to sew a jacket? This step involves measuring, cutting, and marking your fabric accurately.
Taking Accurate Measurements
Accurate measurements ensure that your jacket fits well. Take the following measurements:
- Bust: Measure around the fullest part of your bust.
- Waist: Measure around your natural waistline.
- Hips: Measure around the fullest part of your hips.
- Length: Determine the desired length of the jacket, from the shoulder to the hem.
Cutting the Fabric
Once you have your measurements, it’s time to cut the fabric:
- Prewash Fabric: Prewash your fabric to avoid shrinkage later.
- Lay Out Pattern Pieces: Arrange the pattern pieces on the fabric according to the instructions. Ensure the fabric grain runs in the correct direction.
- Cut Carefully: Use sharp fabric scissors or a rotary cutter for clean edges. Follow the pattern instructions closely.
Marking and Pinning
Marking and pinning the fabric pieces helps in accurate sewing:
- Marking: Use fabric markers or chalk to transfer pattern markings onto the fabric.
- Pinning: Pin the pieces together according to the pattern instructions. This will keep everything aligned during sewing.
Assembling the Jacket
With your fabric cut and marked, you can start assembling the jacket. This involves sewing the main pieces together, adding any details, and fitting the jacket to your body.
Sewing the Main Pieces
Follow these steps to assemble the jacket:
- Sew the Seams: Begin by sewing the main pieces together, starting with the body and then adding sleeves. Use a sewing machine with the appropriate stitch for your fabric.
- Press Seams: After sewing each seam, press it flat with an iron. This will help achieve a smooth finish.
Adding Details and Finishes
Details such as pockets, cuffs, and collars add functionality and style to your jacket:
- Pockets: Sew pockets according to the pattern instructions. Reinforce the pocket openings for durability.
- Cuffs and Hems: Attach cuffs and hem the sleeves and jacket body. Use a sewing machine or hand stitch for neat edges.
- Collar: Attach the collar according to the pattern instructions. Ensure it lays flat and aligns properly.
Fitting the Jacket
Fitting is crucial for comfort and appearance:
- Try On the Jacket: Check for fit and make any necessary adjustments.
- Alter as Needed: Make adjustments to the side seams, shoulders, or sleeves for a perfect fit.
Final Touches and Care
The final touches can make a significant difference in the overall appearance of your jacket. Additionally, proper care will help maintain the jacket’s condition over time.
Adding Buttonholes and Buttons
If your jacket design includes button closures:
- Buttonholes: Sew buttonholes using a buttonhole foot on your sewing machine. Test on a scrap piece of fabric first.
- Buttons: Attach buttons securely to ensure they stay in place.
Cleaning and Maintaining Your Jacket
Proper care will extend the life of your jacket:
- Fabric-Specific Care: Follow the care instructions for your fabric. Wool may require dry cleaning, while cotton can often be machine washed.
- Storage: Store your jacket in a cool, dry place. Use a garment bag for protection.
Common Mistakes to Avoid When Sewing a Jacket
Even experienced sewers can make mistakes when tackling a jacket project. Here are some common pitfalls and how to avoid them:
Incorrect Measurements
One of the most frequent issues is inaccurate measurements. Always double-check your measurements and make a muslin or test garment to ensure proper fit before cutting into your final fabric.
Skipping Fabric Pre-Washing
Skipping the pre-washing step can lead to unwanted shrinkage or color bleeding. Always pre-wash your fabric according to its care instructions to prevent these issues.
Not Following the Pattern Instructions
Patterns provide crucial guidelines for constructing your jacket. Deviating from these instructions can lead to poor fit or assembly problems. Take the time to read and follow the pattern directions carefully.
Ignoring Seam Allowances
Seam allowances are essential for a proper fit and finish. Ensure you follow the pattern’s seam allowance instructions and use a seam gauge to keep your sewing consistent.
Improper Pressing Techniques
Pressing is key to achieving professional-looking results. Use the correct heat setting for your fabric and press seams as you sew. Avoid skipping this step, as it can result in a bulky or uneven appearance.
Advanced Techniques for a Professional Finish
How to sew a jacket? For those looking to elevate their jacket-making skills, consider incorporating these advanced techniques:
Adding Lining to Your Jacket
A lining enhances the jacket’s finish and adds comfort. To add a lining:
- Cut Lining Pieces: Cut the lining fabric according to the pattern.
- Sew the Lining: Assemble the lining in the same way as the main jacket, then attach it to the jacket’s inside edges.
Installing a Zipper
Zippers can be tricky but add functionality to your jacket. Use a zipper foot on your sewing machine for precise stitching. Test the zipper before attaching to ensure smooth operation.
Adding Tailoring Details
Tailoring details like darts and shoulder pads can refine the fit and shape of your jacket. Darts help contour the jacket to your body, while shoulder pads add structure.
Decorative Stitching
For a unique touch, consider adding decorative stitching or embroidery. This can personalize your jacket and give it a distinctive look.
Troubleshooting Common Issues
Even with careful planning, you may encounter some issues during your project. Here’s how to troubleshoot common problems:
Fabric Shifting
If your fabric shifts while sewing, use a walking foot or adjust your machine’s feed dogs. Pinning or basting the fabric pieces can also help.
Uneven Seams
Uneven seams can be corrected by re-sewing them with a consistent seam allowance. Pressing seams as you sew can also help keep them even.
Buttonholes Not Closing Properly
If buttonholes are not closing correctly, check the settings on your sewing machine. Make sure you are using the correct buttonhole foot and adjust the stitch length as needed.
Conclusion
Sewing a jacket is a fulfilling project that allows you to create a custom piece tailored to your style and needs. By following these steps, you can confidently navigate the process from choosing fabric to adding final touches. Remember to take your time and enjoy the journey of creating something uniquely yours.